WELCOME TO THE WORLD OF MOSAICO, THE NITCO WAY

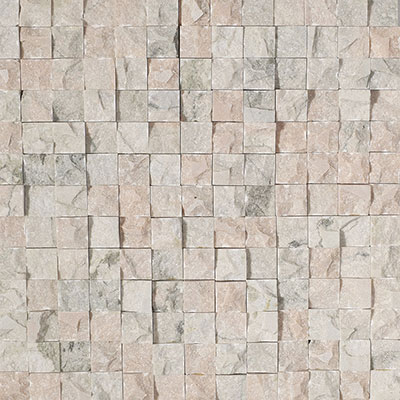
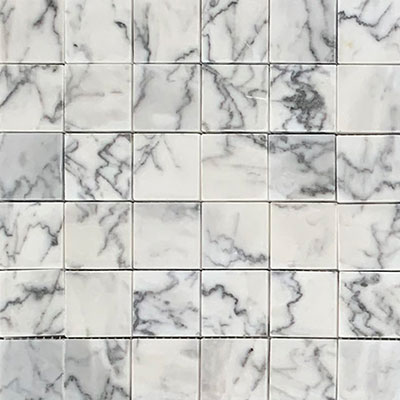
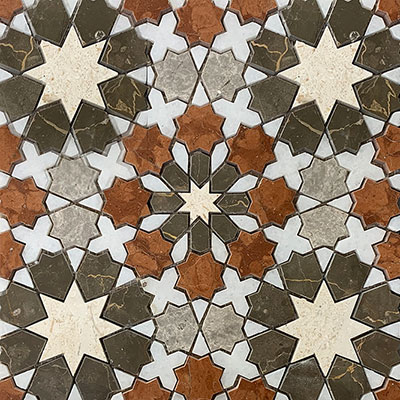
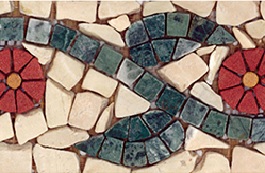
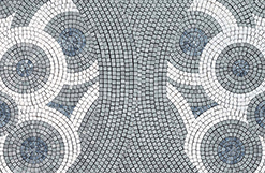
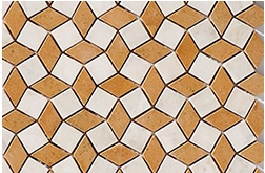
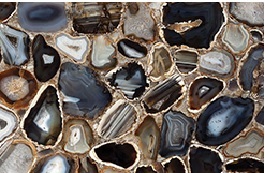
Introducing the exquisite mosaics from Nitco, a collection that epitomizes luxury and creativity. Crafted from an array of materials including marble, shell stones, semi-precious stones and tile, Nitco's mosaics offer unparalleled versatility and elegance. These mosaics feature contemporary designs that cater to modern aesthetics, providing a perfect blend of tradition and innovation. Customers can choose from an extensive design collection or opt for customization to suit the unique vision. Whether enhancing the charm of a residential space or adding sophistication to commercial projects, Nitco's mosaics promise to transform any setting into a work of art, reflecting impeccable taste and a commitment to quality.

At Nitco, we pride ourselves in bringing your vision to reality with our exceptional mosaic offerings. Customization is at the heart of what we do; we work closely with you to ensure that every detail aligns with your unique vision. Whether you desire intricate patterns, specific colour schemes, or exclusive designs, our expert team is dedicated to transforming your ideas into stunning mosaic masterpieces.To learn more about how we can collaborate to create your perfect mosaic, please fill out the enquiry form below, and one of our representatives will promptly get in touch with you.

Nitco Customization

Technical laying instructions

We highly advise inspecting and conducting a dry mock-up of all mosaic sheets prior to installation. Once mosaic tiles are
laid or fixed, any concerns or issues cannot be addressed by the company.

skimming

1. Skimming

  • The installation surface must be smooth and clean to ensure proper installation.
  • It may be necessary to lay a thin layer of setting material on the surface to ensure that it is ready for the tile.
  • Allow 12 hours to dry if layer of setting material is needed.
skimming

2. Guide Lines

  • Measure the space in which the mosaic is being installed to determine the best fit for your tile.
  • Use a straight edge and level to help you align the tile as you work.
skimming

3. Applying Setting Material

  • Mix setting material.
  • First coat: apply setting material with the smooth edge of a trowel to a section no larger than one section of the grid.
  • Second coat: create even ridges in the setting material by “combing” the material with the notched edge of the trowel.
skimming

4. Installing the Mosaics

  • Apply the backside of each sheet with the setting material.
  • Using a float tool, tap across the surface to adhere the mosaic securely into the setting material.
skimming

5. Securing Mosaic Sheets

  • It is important to create a secure bond between the mosaic and the setting material.
  • Using the float tool tap across the surface to adhere the mosaic securely.
  • This also ensures the final exposed plane of the mosaic is consistent and uniform in height.
skimming

6. Adjusting spacing

  • This can be a time consuming process, but is important to ensure a professional installation.
  • Adjust while material is still wet.
  • Adjust any mosaic that are uneven and ensure that all gaps are of equal width and height. Do this by cutting through the clear tape and moving pixel with a small trowel.
skimming

7. Grouting

  • Grout can be applied to a clean, dry surface. (See Step 8 “Expansion Joints”)
  • Before applying grout be sure that the mosaic surface is clean.
  • Thorough cleaning may involve removing excess setting material from the mosaic’s joint with a knife, as well as cleaning off all dust and particles.
  • Spread grout from the bottom up in a diagonal direction using a small trowel.
  • Squeegee in the opposite direction.
skimming

8. Expansion Joints

  • Expansion joints should be installed at all “changes in plane” of the mosaic and where the mosaic meets an adjoining surface, such as in a corner.
skimming

9. Cleaning and Sealing

  • The mosaic should be ready to be cleaned about 30-60 minutes after grouting.
  • Use a sponge and clean water and scrub in a circular motion, removing excess grout and smoothing all joints. Continue to wipe down the tiles until clean.
  • Seal the grout after 72 hours of application.
}